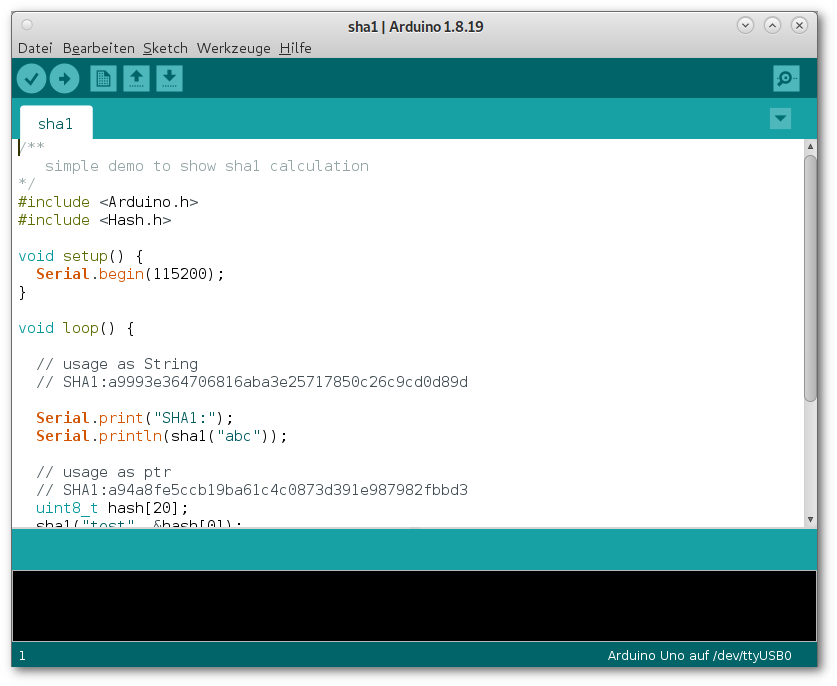
Install the Arduino IDE (development environment)
Those who want to mine the Duinocoin (DUCO) need software to program an Arduino UNO/Nano or an ESP8266/ESP32. The easiest way to do this is to use the free and open source Arduino IDE.
The easiest way to program mining software on a microcontroller is to use the Arduino IDE (development environment). The free and open source software is offered by the Arduino Project as a free download for Windows, GNU/Linux and Mac OS X.
Arduino IDE for Windows, Max OS X and GNU/Linux
Installation is easy and described for current operating systems on the Arduino project page:
- For Microsoft Windows version 7 and above, there is a Windows installer that is simply launched from the file manager as usual. Windows 8.1 and Windows 10 users can also download the Arduino app from the Microsoft AppStore instead.
- --> Install the Arduino Software (IDE) on Windows PCs
- On an Apple computer, at least Mac OS X 10.10 must be installed to use the Arduino IDE. As usual with Mac OS, the installation package must be unpacked and moved to the Application Folder.
- --> Install the Arduino Software (IDE) on macOS
- GNU/Linux users should avoid installing the software via the package manager of the respective distribution, as it is usually outdated and has been modified by the maintainer. The Arduino team recommends downloading the installation package from the Arduino website, unpacking it and running the installer. A look into the code of the installer shows that there is wild tinkering in the depths of the Linux system and many things are (dis)configured - this is not the professional way to install software. It is easier and safer to install the Arduino IDE by hand (see my instructions below).
- --> Install the Arduino Software (IDE) on Linux
To compile software for the Arduino from time to time or to write simple sketches (Arduino programs), the normal installation of the IDE is perfectly sufficient.
I use different microcontrollers and different libraries. The "fixed" installation of the Arduino Foundation described above quickly leads to a confusing and chaotic configuration that can hardly be replicated on another system. Therefore, I set up the Arduino IDE as a "portable" version - all settings, libraries and on-board architectures (core) are stored in the "portable" directory. This way I can easily create several IDEs and/or make backups by copying the directory to a USB stick or program on another computer with my fully configured Arduino IDE in no time.

Tip: Installing the Arduino IDE for GNU/Linux
I always install software and thus also my Arduino IDEs on different systems by hand in the terminal. Since I have written down the commands in my personal doc (a kind of journal in an ASCII file), I can simply copy the commands with the mouse and transfer them to the terminal (On Linux, you highlight the text and then click once with the middle mouse button in the target window - that's all!).
Here are my commands:
cd ~/Downloads
wget https://downloads.arduino.cc/arduino-1.8.19-linux64.tar.xz
cd
mkdir bin
tar xvf Downloads/arduino-1.8.19-linux64.tar.xz -C ~/bin
mkdir ~/bin/arduino-1.8.19/portable
One could simplify the process, but this way the commands are easiest to follow. In detail:
- Line 1 changes to the download directory.
- line 2 gets the 64-bit package of the Arduino IDE from the Arduino Foundation
- line 3 changes back to the /home/<user> directory
- Line 4 creates the bin directory under /home (see below)
- line 5 puts the previously downloaded package into /home/<user>/bin
- Line 6 creates a "portable" directory there to make the Arduino IDE more flexible (see below).
What is the ~/bin directory for? (line 4)
Most GNU/Linux distributions have a separate search path to /home/<user>/bin for each user, but do not create this directory. Once created, you can put your personal scripts and programmes here and start them from anywhere. However, this only works after a new login, and in the properties of the terminal program you should activate the option "Start command as login shell" ("Edit / Profile settings / Title and command").
Since the binary of the Arduino IDE is now in the directory /home/<user>/bin/arduino-1.8.9/arduino, you would have to create a link in the ~/bin directory to start the IDE from the terminal - but nobody does that. Instead, you create a start icon on the desktop or better in the program bar at the top of the desktop.

With the MATE desktop it works like this:
- Right click on the bar, "Add to bar..."
- Select "Custom application launcher
- Click on "Add
- Name: "Arduino IDE
- Command: "/home/<user>/bin/arduino-1.8.9/arduino"
- Click on the icon on the left and select "/home/<user>/bin/arduino-1.8.9/lib/icons/32x32/apps/arduino.png".
Done. The development environment can be started with a single click on the fancy Arduino icon.
Tip #1: By the way, it is better to install the Arduino IDE "portable".
Tip #2: After that, some basic adjustments should be made in the IDE.

